


Ultimate Handbook: Testing and Maintaining Your Vehicle’s Oil Pressure Sensor for Peak Performance
Understanding the Oil Pressure Sensor: Why It’s Crucial for Your Engine
The oil pressure sensor is a vital component of your vehicle’s engine, playing a critical role in ensuring the engine’s longevity and performance. This sensor monitors the oil pressure within the engine and sends signals to the engine control unit (ECU) or directly to the dashboard, where it can trigger warning lights if there are any issues.
“Oil pressure is essential for the lubrication and cooling of the engine’s moving parts. Without adequate oil pressure, your engine can suffer severe damage, leading to costly repairs or even engine failure,” notes a mechanic from a leading auto repair shop.
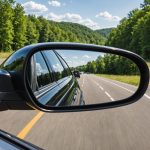
In the same genre : Unlocking blind spot safety: your comprehensive handbook for achieving optimal visibility with hatchback side mirror adjustments
Here’s a detailed look at how the oil pressure sensor works:
Operation of the Oil Pressure Sensor
When the engine is running, the oil pump circulates oil through the lubrication system, creating pressure in the oil galleries. This pressure is then detected by the oil pressure sensor, which typically consists of a diaphragm and a spring. As the oil pressure increases, it overcomes the resistance of the spring, causing the diaphragm to move. This movement activates electrical contacts that send a signal to the ECU or the dashboard gauge.
Also to see : Perfecting headlight alignment for classic cars: an easy-to-follow guide
- For Normally Open Sensors: When oil pressure reaches a predetermined critical level (usually between 3.5 and 11 psi), the diaphragm moves sufficiently to close the electrical contacts, turning off the warning light on the dashboard.
- For Normally Closed Sensors: Conversely, if the oil pressure falls below this critical level, the diaphragm releases, opening the contacts and activating the warning light to alert the driver of low oil pressure[1].
Causes of Oil Pressure Sensor Failure
Oil pressure sensor failure can occur due to several factors, each impacting the sensor’s ability to accurately measure and relay oil pressure information.
Dirt and Debris Accumulation
The sensor may become clogged with dirt, debris, or sludge, particularly if engine oil is not changed regularly. This buildup can prevent the sensor from providing accurate readings, leading to misinterpretation of oil pressure levels.
Wear and Tear
Over time, the mechanical and electronic components of the oil pressure sensor can degrade due to aging and exposure to engine conditions. For example, the resistance element within the sensor may corrode, causing it to fail in measuring oil pressure accurately.
Oil Leakage
If there are leaks in the oil system, it can lead to low oil pressure, which may result in sensor failure. Additionally, oil leakage can damage the sensor itself, further compromising its functionality[1].
Testing Your Oil Pressure Sensor
Testing the oil pressure sensor is crucial to ensure it is functioning correctly and providing accurate readings. Here are several methods to test an oil pressure sensor effectively:
Visual Inspection
- Check for Leaks: Inspect the sensor for any signs of oil leaks, which can indicate a failure.
- Electrical Connections: Ensure that the electrical connector is secure and free from corrosion or damage[1].
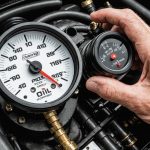
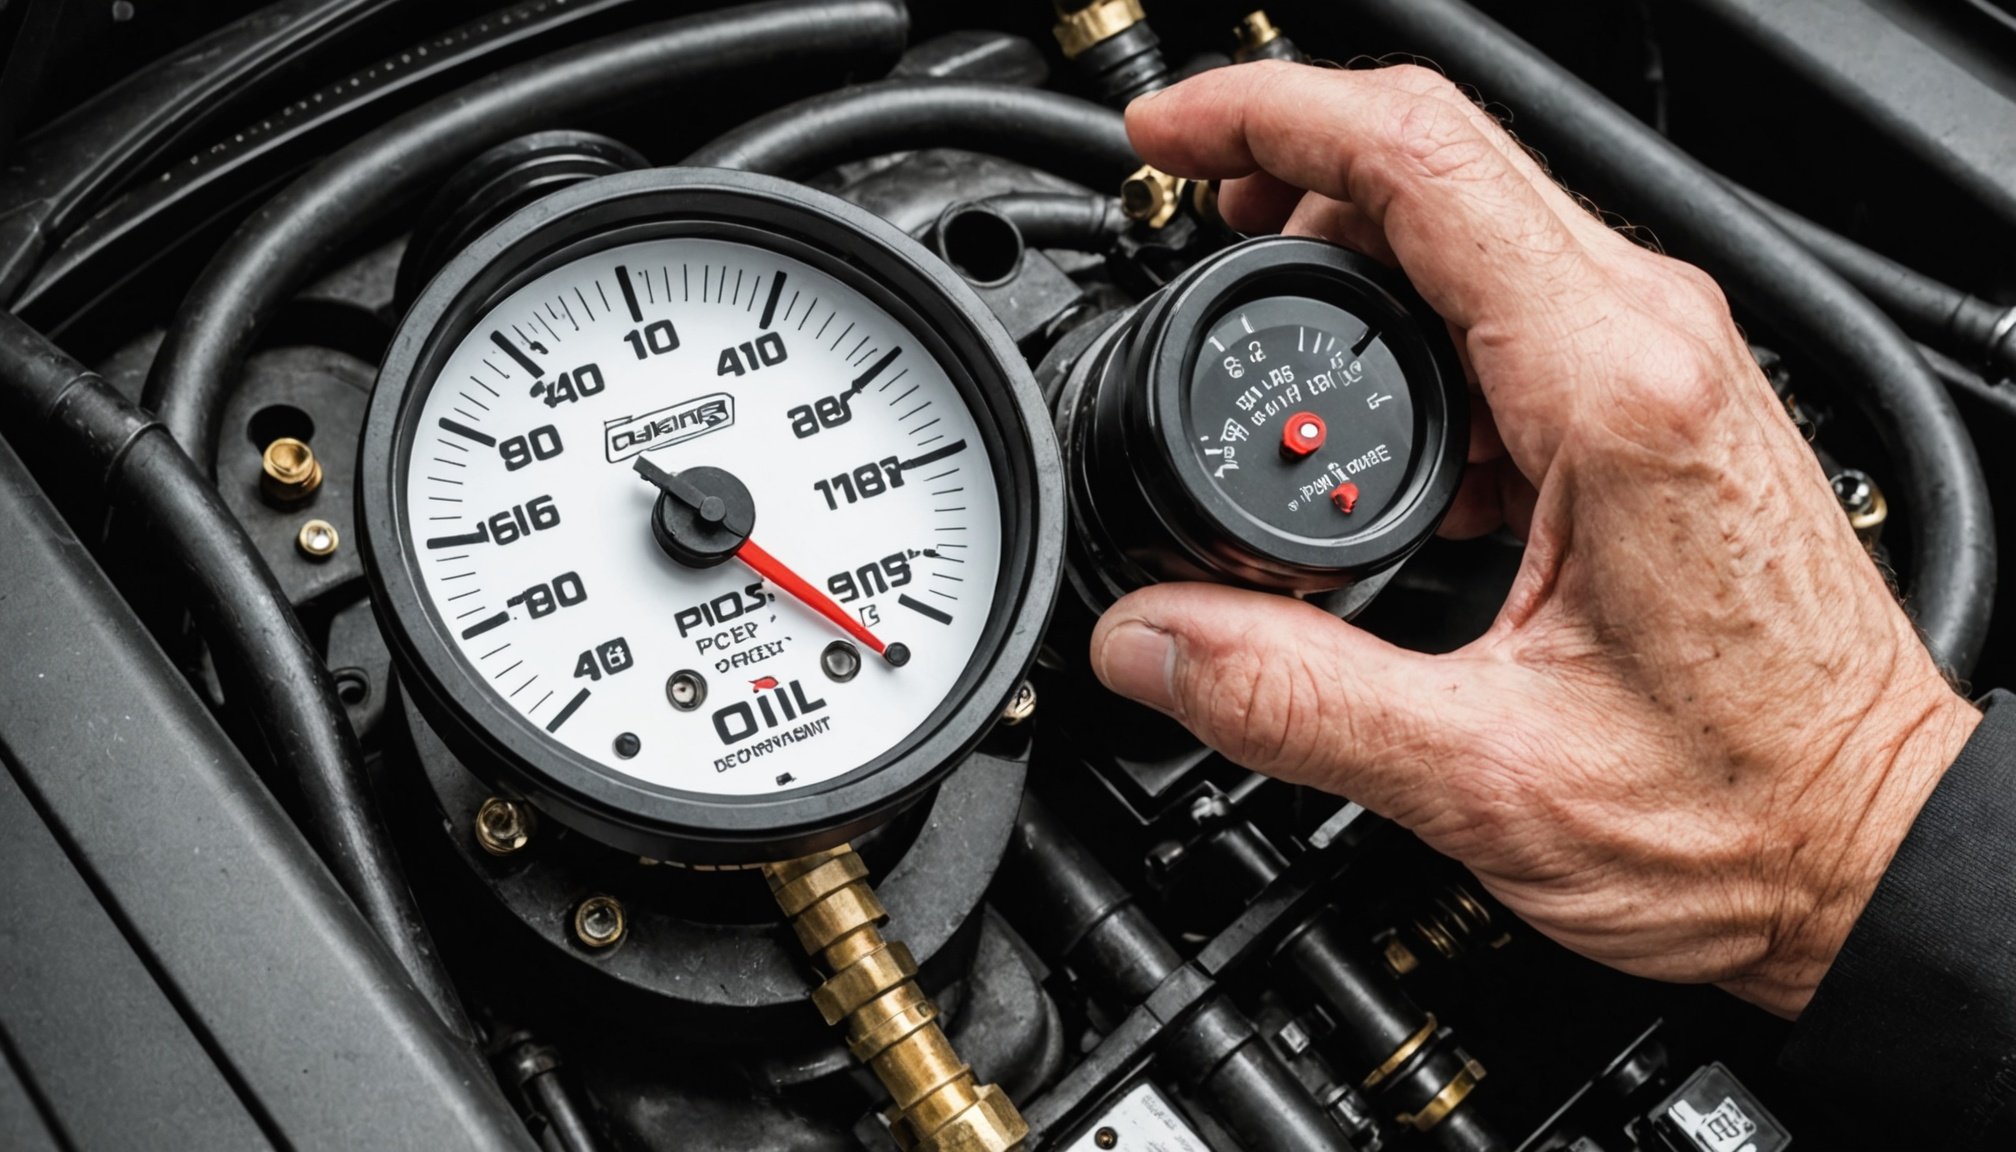
Manual Pressure Test
- Tools Needed: An oil pressure gauge and necessary adapters.
- Procedure:
- Disconnect the oil pressure sensor from its mounting location.
- Install a manual oil pressure gauge in place of the sensor.
- Start the engine and observe the gauge reading.
- Compare the reading to the vehicle’s specified oil pressure range. If the manual gauge shows normal pressure but the dashboard gauge does not, the sensor may be faulty[1].
Air Pressure Test (for Switch-Type Sensors)
- Tools Needed: Compressed air source and water for testing.
- Procedure:
- Submerge the sensor in water and apply compressed air through it.
- Observe for air bubbles; if bubbles appear, it indicates that the sensor has failed due to internal leakage[1].
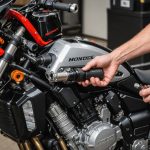
How to Replace Your Oil Pressure Sensor
Replacing the oil pressure sensor is a relatively straightforward process that you can do yourself with the right tools and a bit of patience.
Tools and Materials Needed
| Tools and Materials | Description |
|---|---|
| Ratchet and socket set (10mm or 24mm) | For removing the old sensor |
| Torque wrench | For tightening the new sensor |
| Wrenches | For various tasks |
| Rags/napkins | For cleaning up spills |
| Thread sealant/Teflon tape (optional) | For ensuring a proper seal |
| New oil pressure sensor | Replacement sensor |
| Replacement washers (if applicable) | For ensuring a leak-free installation |
Step-by-Step Instructions
- Disconnect the Battery: Disconnect the negative terminal of the battery for safety.
- Access the Oil Pressure Sensor: Remove any components obstructing access to the oil pressure sensor (e.g., engine covers, air intake parts).
- Remove the Electrical Connector: Carefully disconnect the electrical connector from the old oil pressure sensor.
- Unscrew the Old Oil Pressure Sensor: Use the appropriate socket to unscrew and remove the old sensor. Be prepared for oil to drip out.
- Clean the Area: Clean the mounting area around the old sensor to ensure a proper seal for the new one.
- Prepare the New Sensor: Apply thread sealant or Teflon tape to the threads of the new sensor (if required).
- Install the New Oil Pressure Sensor: Hand screw the new sensor to avoid cross-threading, then tighten with a torque wrench (typically 18-22 ft-lbs).
- Reconnect the Electrical Connector: Reconnect the electrical connector to the new oil pressure sensor.
- Reassemble Components: Reinstall any components that were removed to access the sensor.
- Reconnect the Battery: Reconnect the negative battery terminal.
- Check Oil Level and Start Engine: Check oil level and top off if necessary. Start the engine and check for leaks around the new sensor.
- Verify Operation: Ensure the oil pressure warning light on the dashboard functions correctly when starting the engine[1][3].
Common Issues After an Oil Change
Sometimes, after an oil change, you might notice the check engine light coming on. Here are some common reasons why this might happen:
Oil Fill Cap Not Tight or Incorrectly Placed
If the oil fill cap isn’t screwed on tightly or isn’t in the right place, it can cause a vacuum leak. This can lead to the check engine light turning on and other performance issues like engine misfiring or increased fuel consumption[2].
Wrong Oil Type or Viscosity
Using the wrong type or viscosity of oil can hurt your car’s performance and might even damage the engine. It could also trigger the check engine light. Always consult your car’s manual to ensure you’re using the right oil[2].
Faulty Oil Pressure Sensor
The oil pressure sensor can malfunction after an oil change, sending wrong information to the car’s computer. This could cause the check engine light to turn on and other symptoms like strange noises or reduced engine power. Using an OBD2 scanner can help diagnose issues with the oil pressure sensor[2].
Diagnosing and Fixing Common Codes
P06DD Code: Engine Oil Pressure Control Stuck Off
The P06DD code indicates that the engine oil pressure control is stuck off, meaning the oil pump is not adjusting pressure as it should. Here are some common causes and symptoms:
Common Causes:
- Faulty oil pump
- Low engine oil level
- Damaged oil pressure sensor harness
- Dirty engine oil
- Short or open circuit in the oil pressure sensor[5]
Common Symptoms:
- Illuminated check engine light
- Rough idling
- Stalling engine
- Poor acceleration
- Excessive vibration from the engine[5]
To diagnose the P06DD code, you must first eliminate other potential issues such as ensuring the oil filter meets OEM specifications, checking for damaged or mis-installed oil filter o-rings, and verifying engine mechanical tolerances and oil pressure specifications.
Maintenance Tips for Your Oil Pressure Sensor
Regular maintenance is key to ensuring your oil pressure sensor functions correctly and prolongs the life of your engine.
Regular Oil Changes
Regular oil changes are crucial for maintaining clean engine oil and preventing dirt and debris accumulation in the oil pressure sensor. It is recommended to change your engine oil every 5,000 to 7,500 miles, depending on your vehicle’s specifications.
Check Your Oil Level Frequently
Always check your oil level before starting your engine. Low oil levels can lead to low oil pressure, which can damage the sensor and other engine components.
Monitor Warning Lights
Pay attention to any warning lights on your dashboard. If the oil pressure warning light comes on, it is essential to address the issue promptly to avoid engine damage.
Use the Right Oil
Using the correct type and viscosity of oil is vital for the health of your engine and the accuracy of your oil pressure sensor. Always refer to your vehicle’s manual for the recommended oil specifications.
Practical Insights and Actionable Advice
Here are some practical tips to keep your oil pressure sensor in top condition:
- Regularly Inspect Electrical Connections: Ensure that the electrical connector to the oil pressure sensor is secure and free from corrosion or damage.
- Use an OBD2 Scanner: If you notice any issues with your oil pressure sensor, use an OBD2 scanner to diagnose the problem. This can help you identify whether the sensor is malfunctioning or if there are other underlying issues.
- Keep Your Engine Clean: Regularly clean your engine to prevent dirt and debris from accumulating around the oil pressure sensor.
- Consult Your Vehicle’s Manual: Always refer to your vehicle’s manual for specific instructions on maintaining and testing the oil pressure sensor.
Maintaining your vehicle’s oil pressure sensor is crucial for ensuring peak engine performance and preventing costly repairs. By understanding how the sensor works, testing it regularly, and addressing any issues promptly, you can keep your engine running smoothly and prolong its lifespan.
“Taking care of your oil pressure sensor is like taking care of the heart of your car. It’s a small but critical component that can make a big difference in how your engine performs,” advises a seasoned mechanic.
By following the tips and guidelines outlined in this handbook, you’ll be well on your way to ensuring your vehicle’s oil pressure sensor operates at its best, keeping your engine healthy and your car running efficiently.